Supermarket Integration
Chef Supermarket is the site for cookbooks. It provides a searchable cookbook repository and a friendly web UI. In this article, we will configure and integrate an existing private Supermarket with an Airgapped installation of Chef Automate.
Prerequisites
To start with the supermarket integration, firstly, use the
chef-automatebinary to create an Airgap Installation Bundle (.aib) for Automate on an internet-connected host. Refer to the System Requirement page for the hardware and software requirements. Refer to the Airgapped Installation page for the complete steps of airgapped installation. Once you are done with the deployment of Automate, following the steps below:Check the status of all the components using the following command:
chef-automate statusCreate a user using the following command:
chef-server-ctl commandN.B. For more help on how to create user using the
chef-server-ctlutility, refer this documentation.
Register Supermarket with Automate Embedded Chef Identity
When you install Chef Automate, it bundles the Chef-Server OC-ID component as an Oauth provider. Users can use the Oauth provider to log in to another application (for example, Supermarket) using their Chef-Server credentials. Follow the steps below to register the applications to use OC-ID as a medium to log in to the respective applications. Once you finish the registration, you will be authorized to use Chef-Server login credentials to login to the application.
Create a file to list down the details of the application you want to register with OC-ID. In the file
ocid-apps.toml, mention the application’s name and the redirect_uri. The content of the created file should be in the following format:[ocid.v1.sys.ocid.oauth_application_config] [[ocid.v1.sys.ocid.oauth_application_config.oauth_applications]] name = "" redirect_uri = ""Update the FQDN/Host Name of your supermarket website in the
redirect_uri. Refer to the code below:[ocid.v1.sys.ocid.oauth_application_config] [[ocid.v1.sys.ocid.oauth_application_config.oauth_applications]] name = "supermarket" redirect_uri = "https://<YOUR SUPERMARKET FQDN>/auth/chef_oauth2/callback"To add more than one application with the OC-ID service, keep repeating the above code in the file with the respective application details. For example:
[ocid.v1.sys.ocid.oauth_application_config]
    [[ocid.v1.sys.ocid.oauth_application_config.oauth_applications]]
        name = "application-1"
        redirect_uri = "https://application-1.com/auth/chef_oauth2/callback"
    [[ocid.v1.sys.ocid.oauth_application_config.oauth_applications]]
        name = "application-2"
        redirect_uri = "https://application-2.com/auth/chef_oauth2/callback"
Using the above snippet, you can register two applications to the OC-ID.
Now, patch the above configuration by running the below command:
chef-automate config patch ocid-apps.tomlOnce the patch is successfully applied, the new application will get registered with Chef Identity.
Verify whether the new configuration has been applied or not by running the following command:
chef-automate config showThe output of the above command should contain the values from the file you patched.
Run the following
ctlcommand to get the details of the applications registered with OC-ID.chef-automate config oc-id-show-appThe output of the above command is as shown below:
supermarket:
-   name: supermarket
    redirect_uri: https://example-supermarket.com/auth/chef_oauth2/callback
    uid: 735c44e423787134839ce1bdb6b2ab8bd9eca5b656f0f4e69df3641ea494cdda
    secret: 4c371ceb46465b162c0b4a670573d80ac1d6adeebaa2638db53bb9f94d432340
    id:
Supermarket Configuration
To configure the supermarket in Chef Automate, follow the steps given below:
SSH into the ec2 instance where the supermarket is installed. Then run the following commands:
sudo su
cd /etc/supermarket
Update the
supermarket.rbfile in the/etc/supermarketdirectory with the application details retrieved from the automate instance after registering supermarket as an oauth application with OC-ID:default['supermarket']['chef_oauth2_app_id'] = "<uid>" default['supermarket']['chef_oauth2_secret'] = "<secret>" default['supermarket']['chef_oauth2_url'] = "<automate_url>" default['supermarket']['chef_oauth2_verify_ssl'] = falseThe flag
chef_oauth2_verify_sslvalue is boolean and should be based on whether you have a valid(non self-signed certificate) certificate for automate. If you have a valid certificate, set it astrue, or else set it asfalse.Now, run the following
reconfigurecommand to reflect the above changes in the running supermarket application:supermarket-ctl reconfigureOnce reconfiguring is completed, visit the supermarket website on the browser. Refer to the image below:
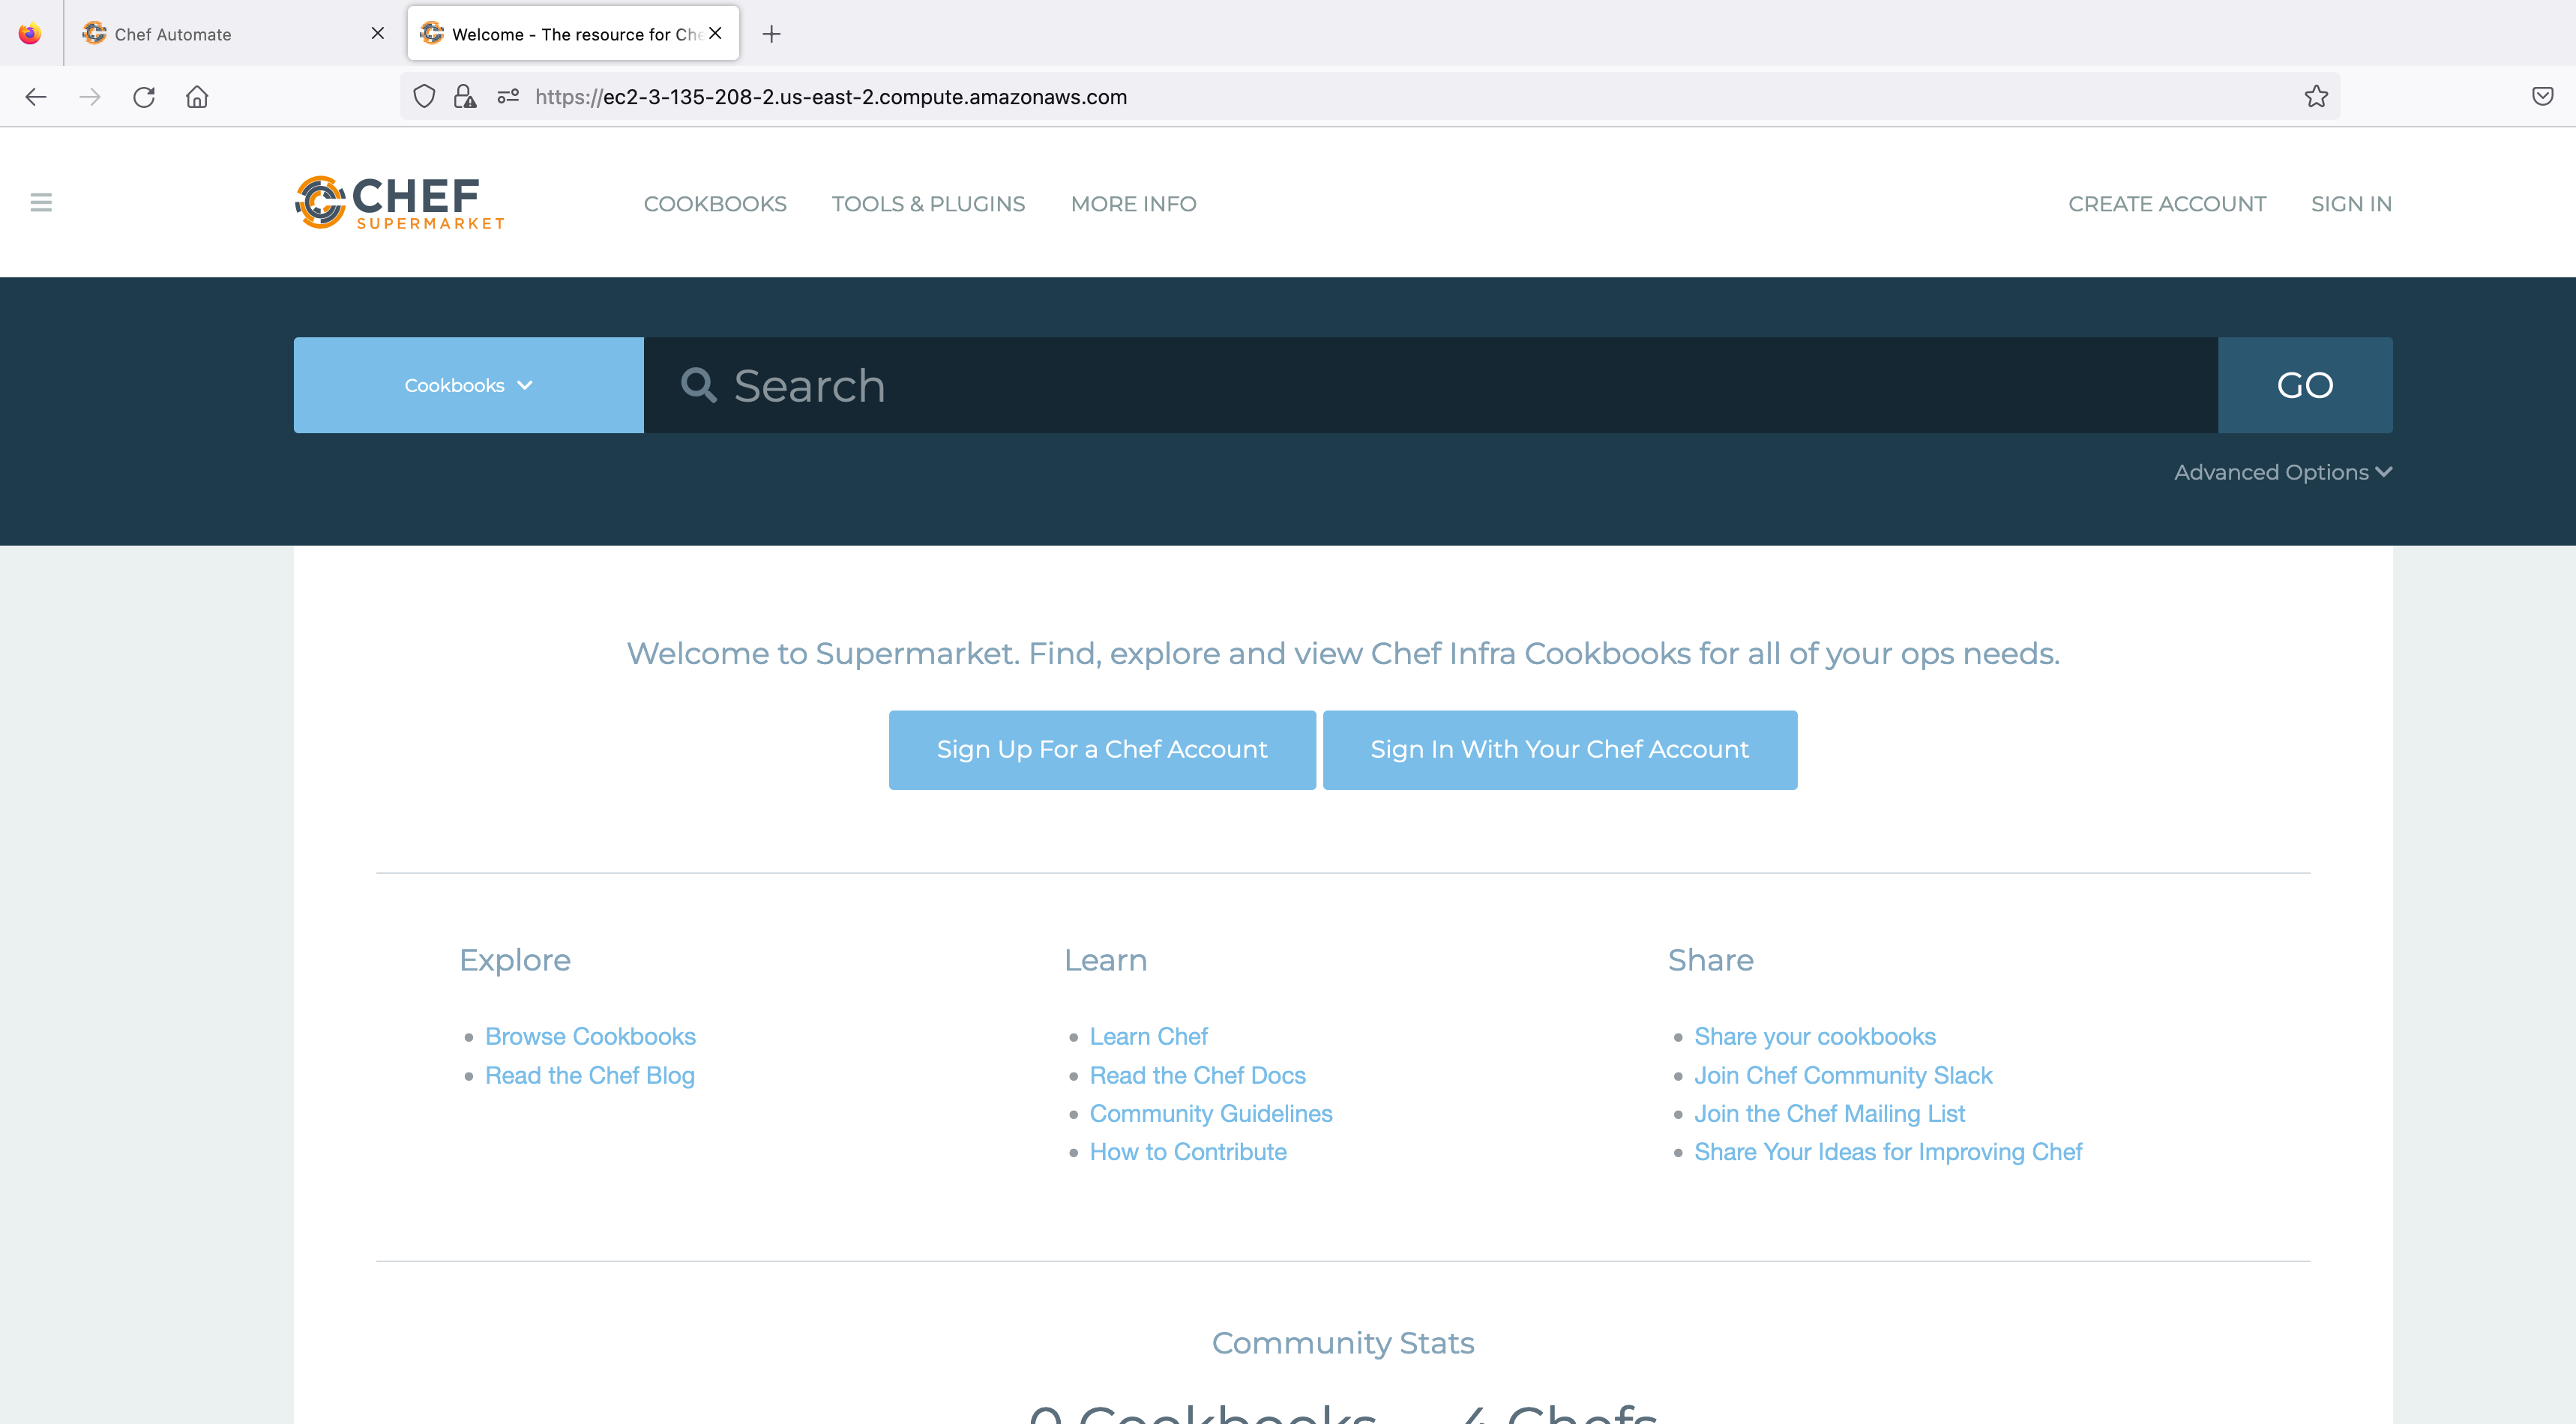
Hit the supermarket URL and select Sign In. You will be redirected to the Chef Identity page running inside Automate. Refer to the image below:
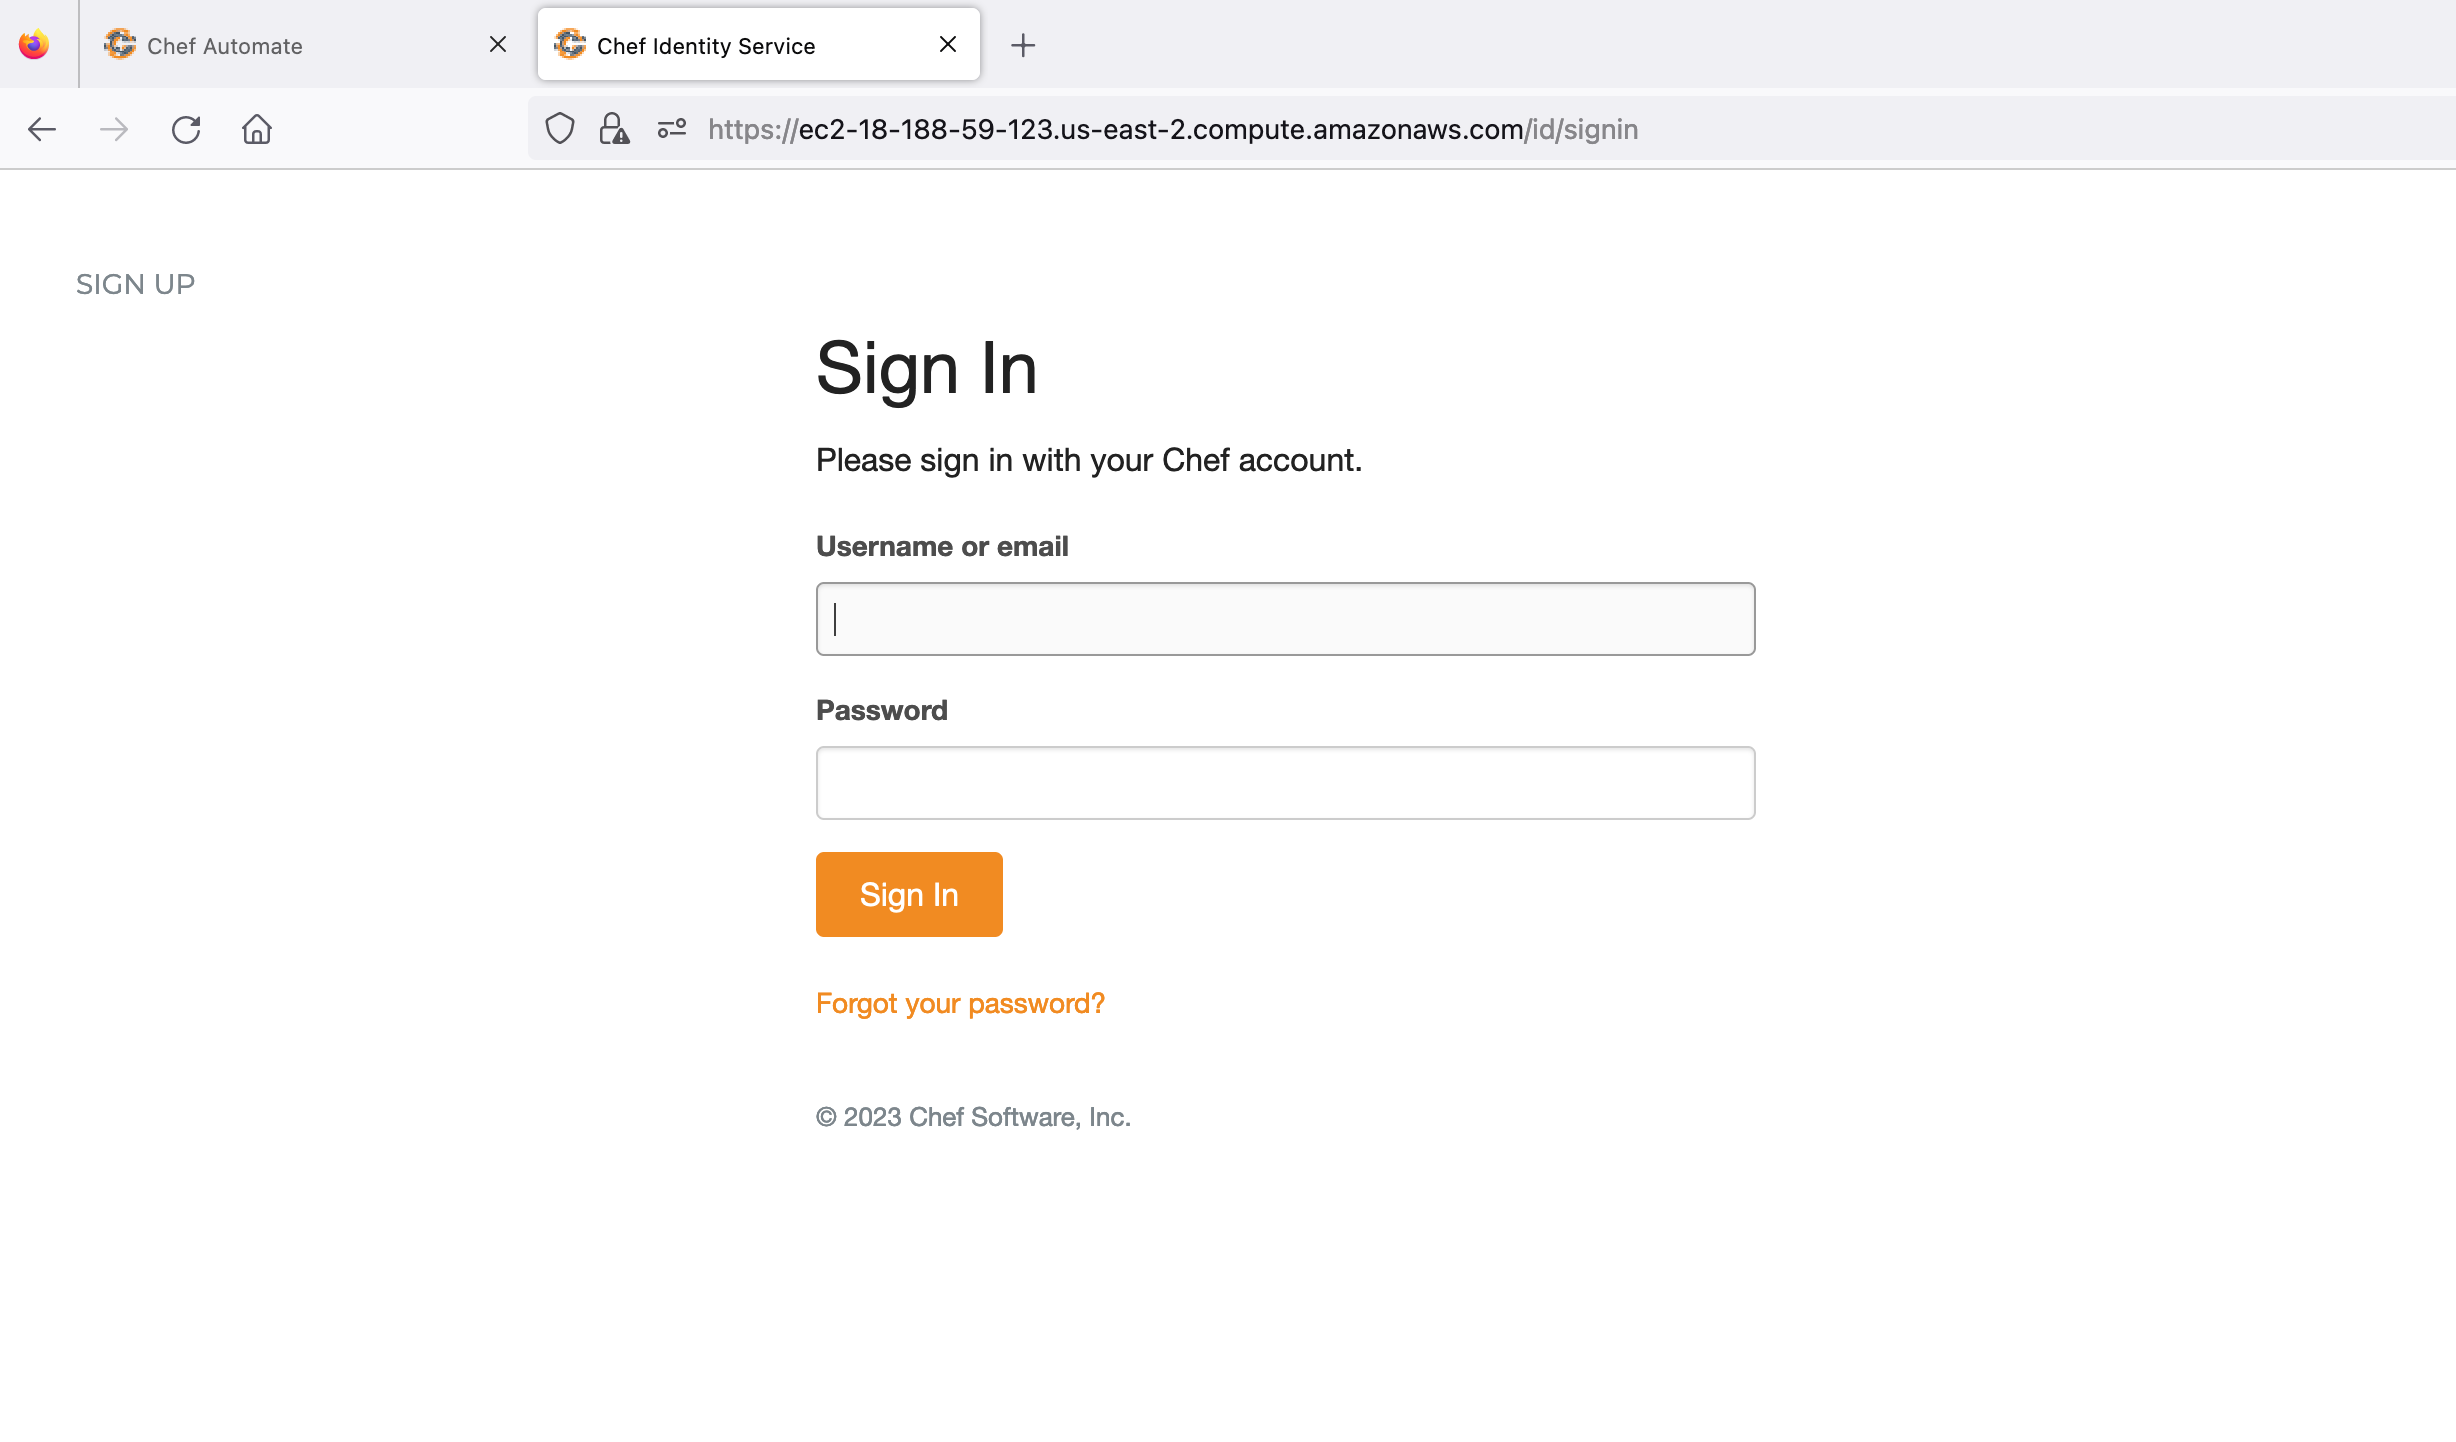
Sign in with the already created user credentials to authorize the supermarket app. Refer to the image below:
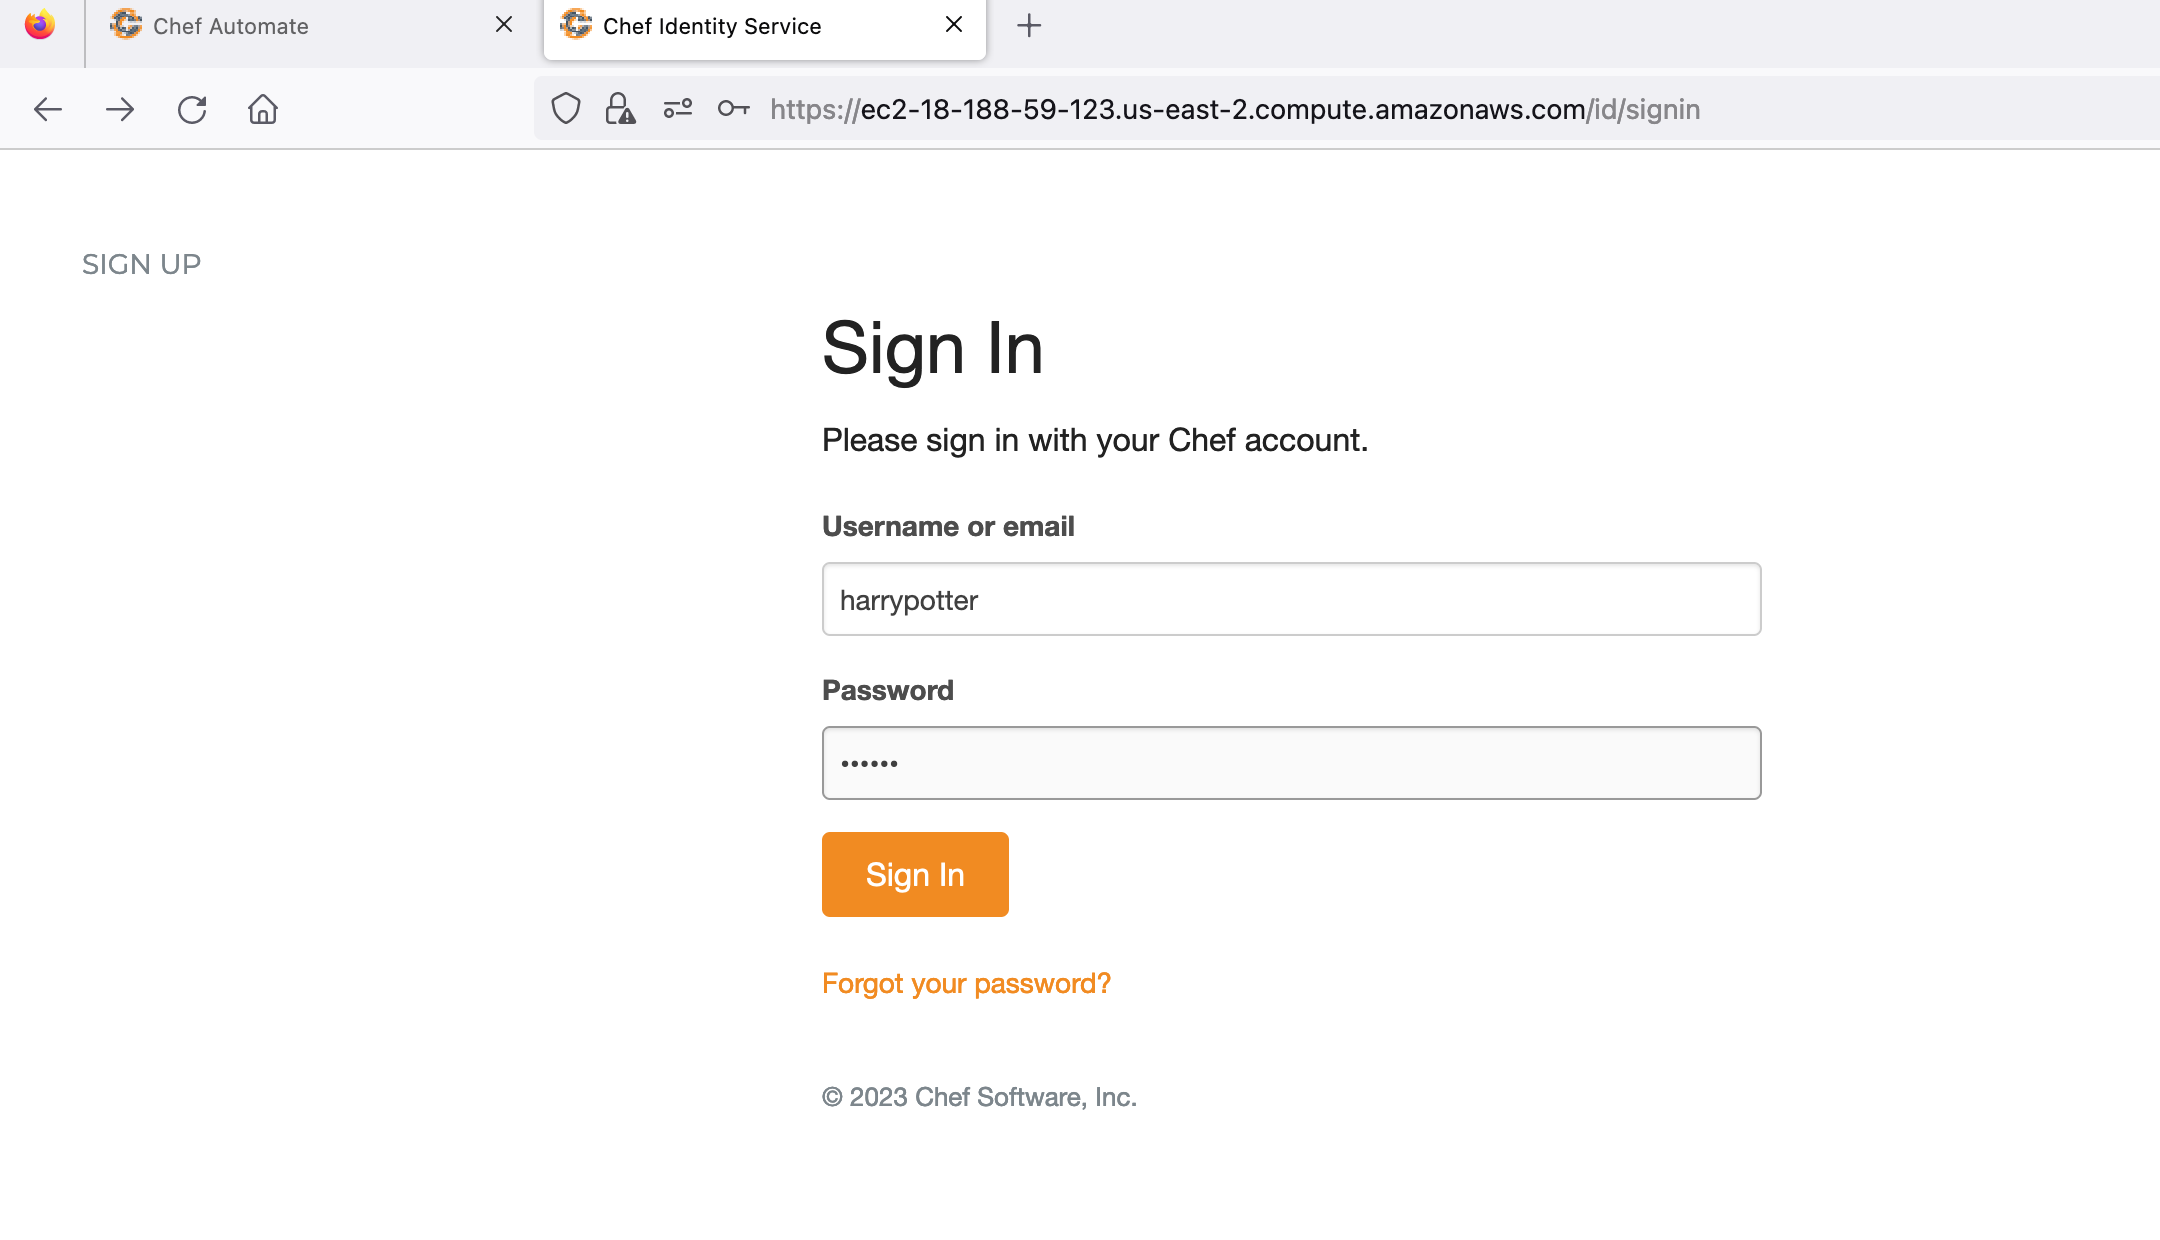
Authorize the supermarket to use your Chef account. Refer to the image below:
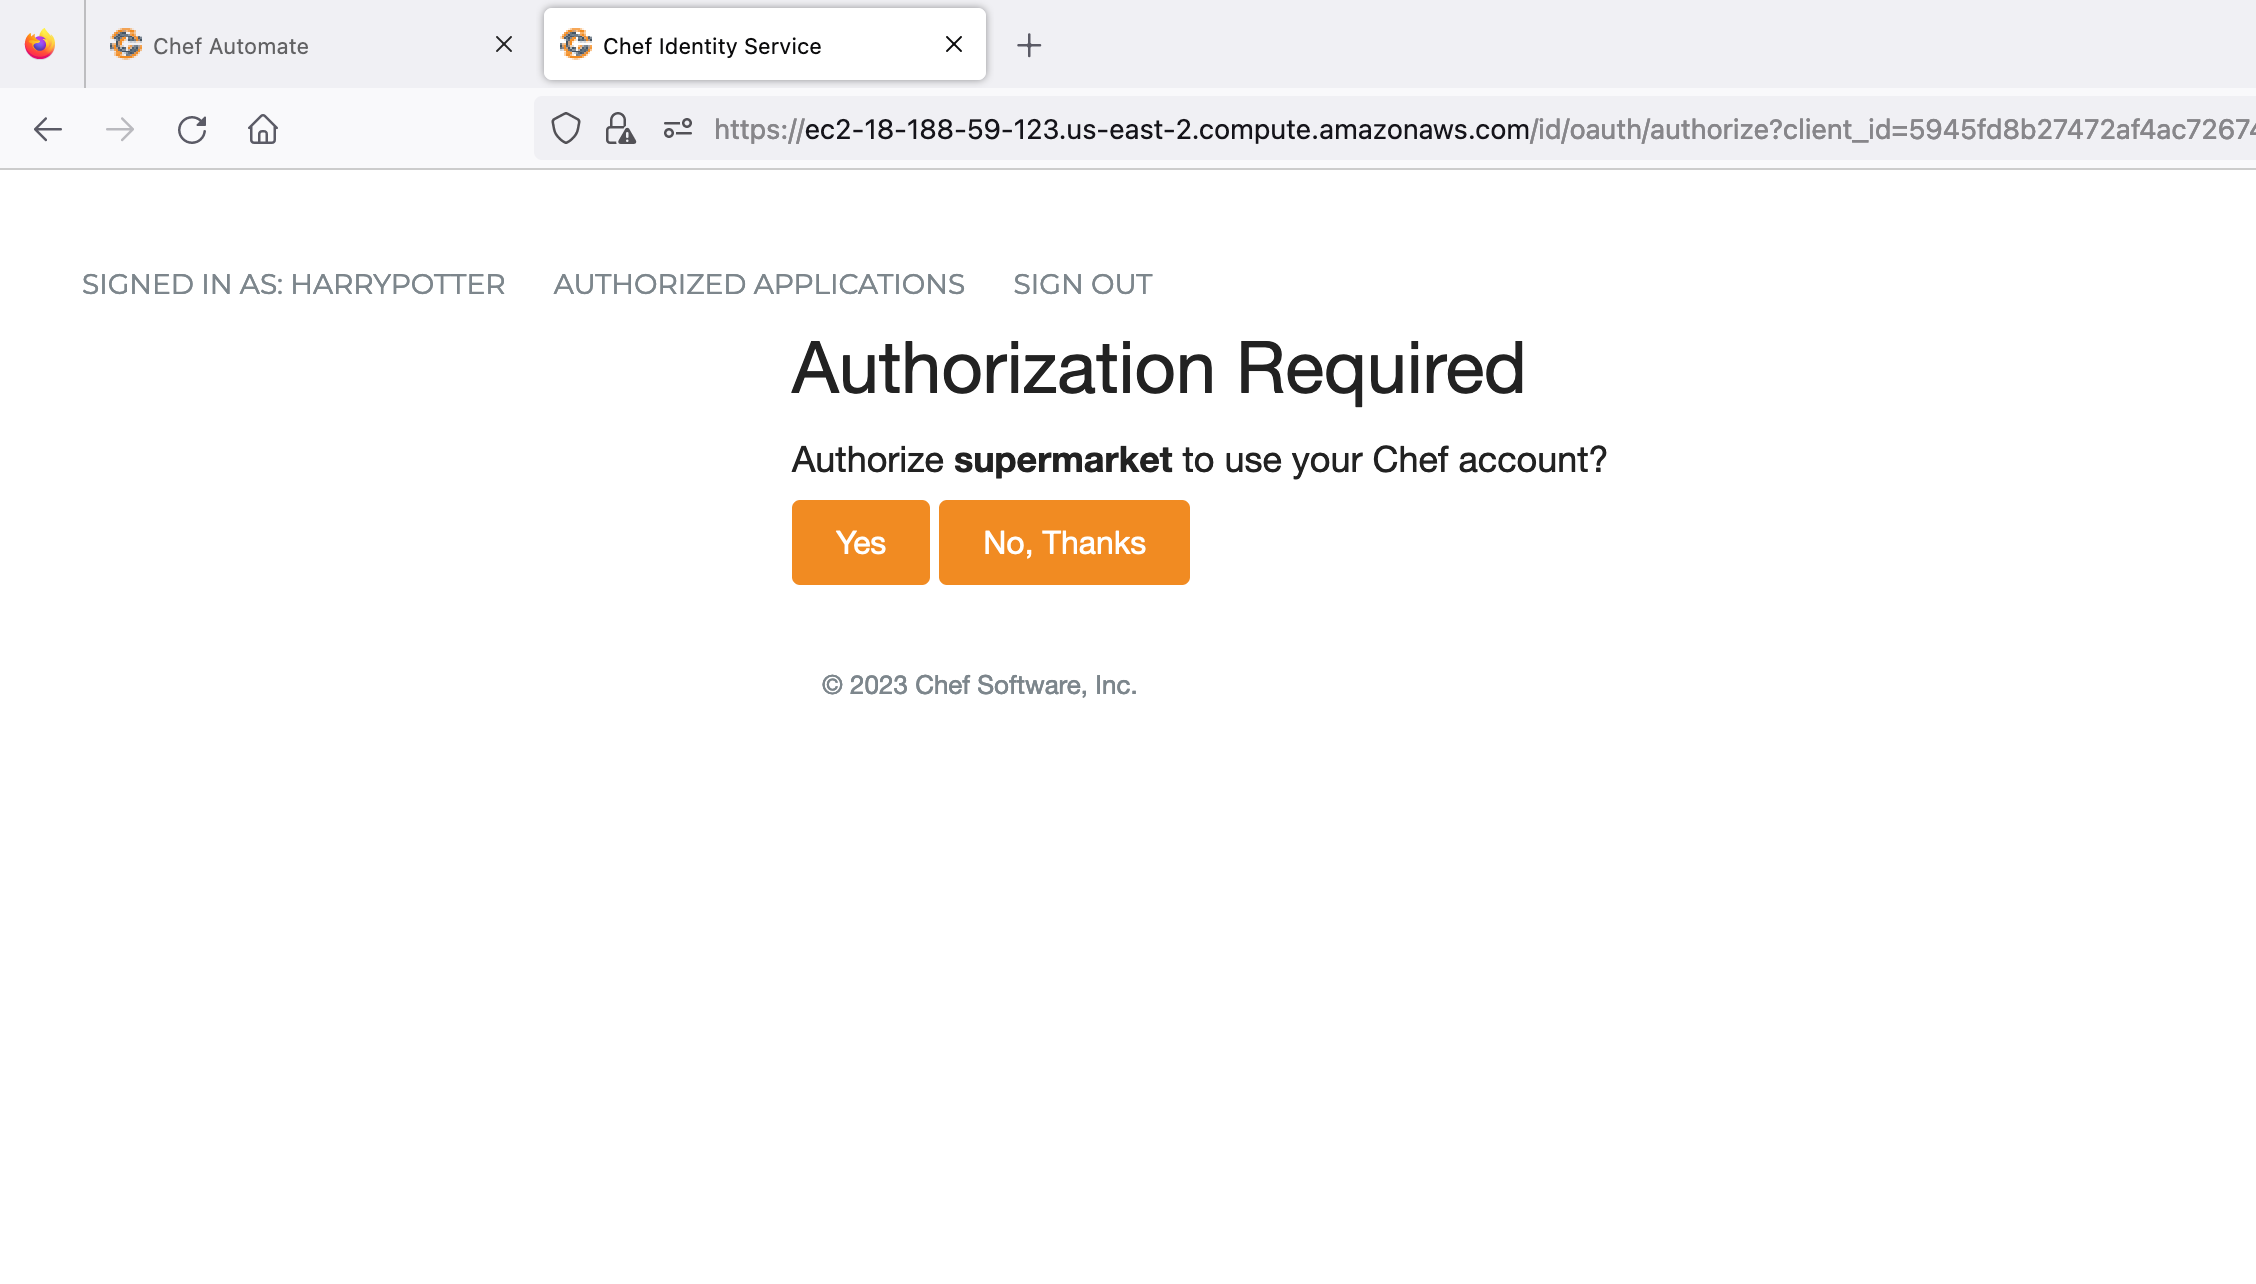
Once the supermarket application is successfully authorized, the screen looks like as shown in the below image:
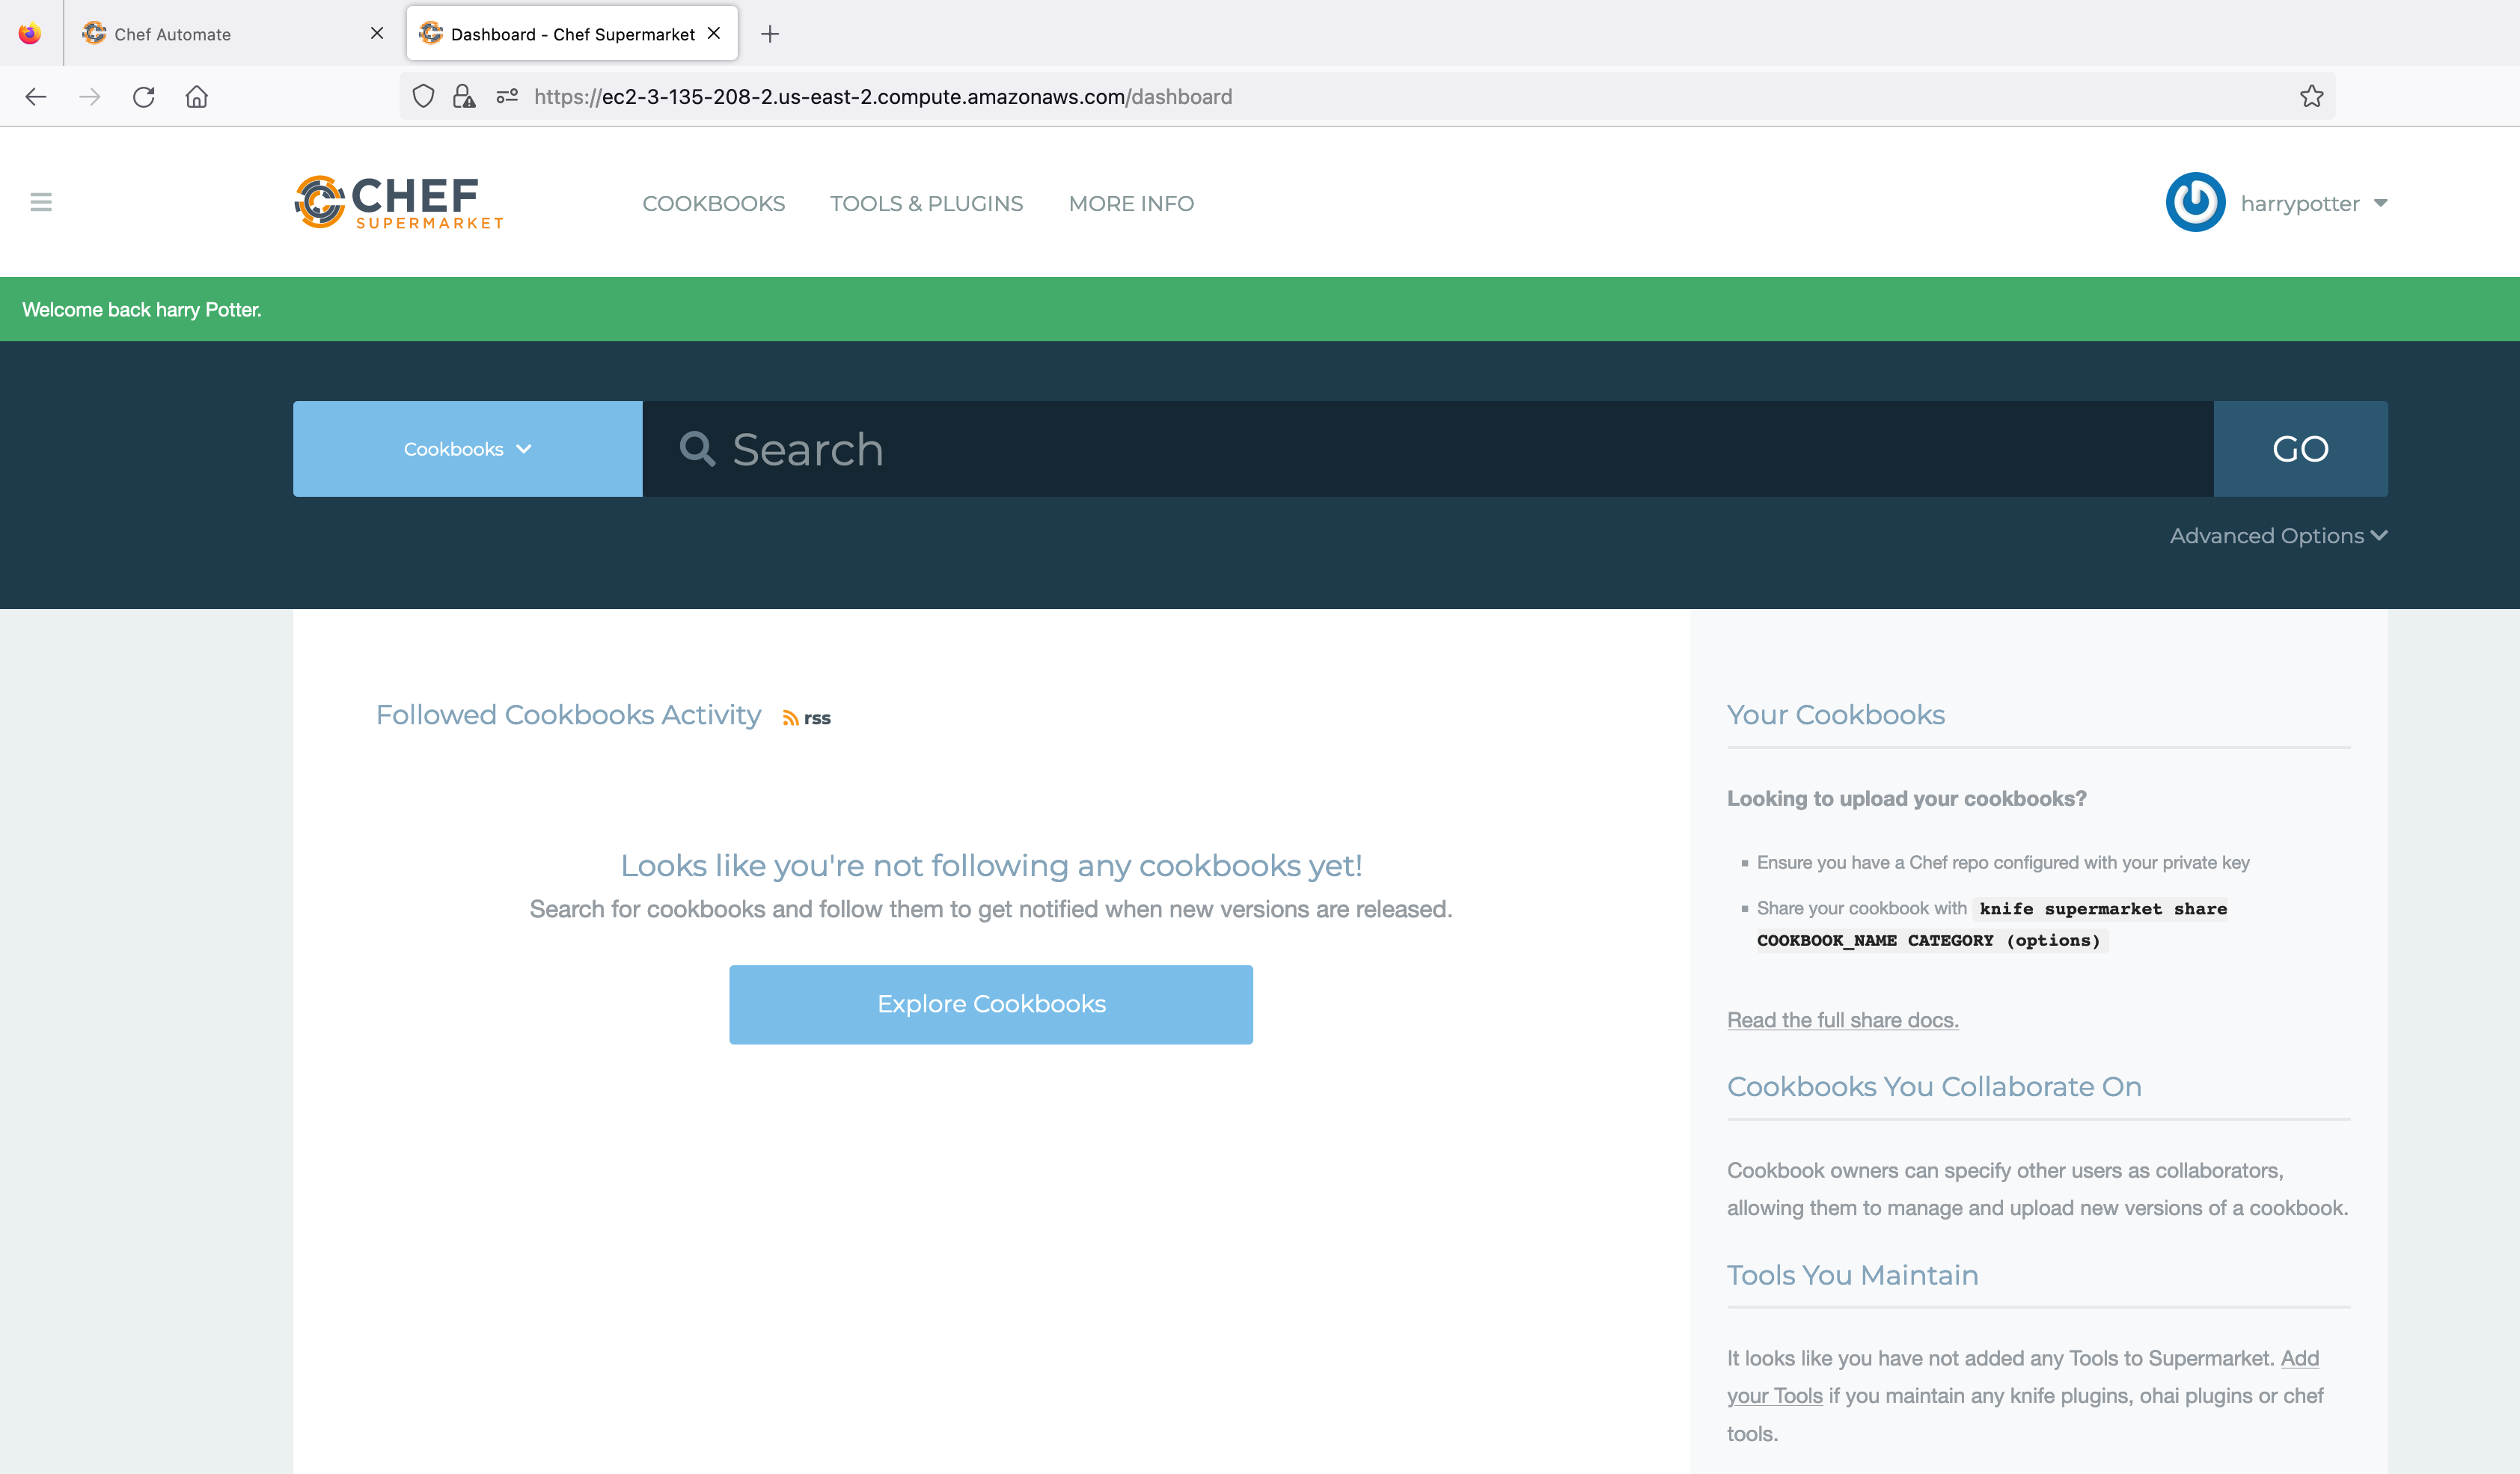
You have successfully logged in to the supermarket using the credentials of chef-server through the Chef Identity service running as part of Airgapped Automate.
Refer to the Configuration page, to check the optional settings for integration of private Supermarket in Chef Automate.